How Do You Mount and Solder Components in PCB?
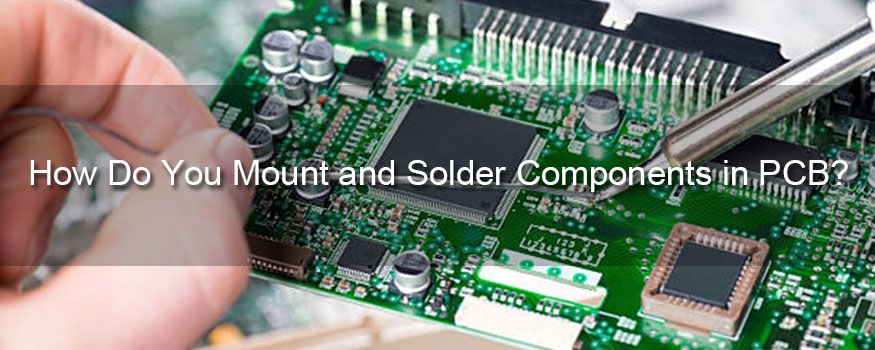
Electronics are an integral part of our daily lives. Everything from our home appliances to our vehicles contain electronic printed circuit boards. Continue reading for a Basic Soldering Guide on How to Solder Electronic Components to Printed Circuit Board (PCB).
PCB Soldering Materials
There are many different kinds of solder available on the market, and picking the best type of solder might seem like a daunting task for the new designer or assembler. Solders are used to make electrical connections between metal contacts by allowing molten solder (which is a soft alloy) to form a eutectic that fuses as it cools. The blend of metals that makes up a solder will determine its mechanical strength after solidification, the required melting temperature, and any fumes put off during soldering. We can distinguish types of PCB soldering materials by core material, metallic constituents, and types of soldering flux.
Soldering Tools and Equipment
As explained above, soldering can be done the 3 ways:
Wave Soldering: Wave soldering is done for mass production. Equipment and raw materials needed for wave soldering are – wave soldering machine, solder bar, flux, reflow checkers, dip tester, spray fluxers, flux controller.
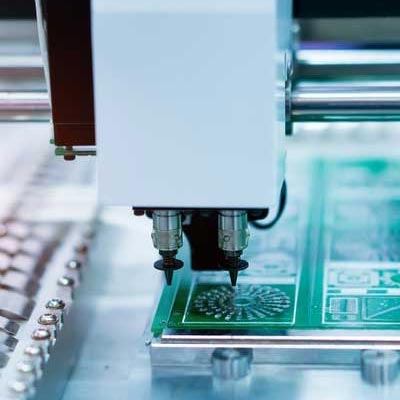
Reflow Soldering: Reflow Soldering is done for mass production and is used for SMD soldering. Equipment and raw material needed for reflow soldering are – Reflow Oven, Reflow checker, stencil printer, solder paste, and flux.
Hand Soldering: Hand soldering is done in small-scale production and repair and reworks of PCB. Equipment and raw materials needed in hand soldering are – Soldering iron, soldering station, solder wire, solder paste, flux, Desoldering iron or Desoldering station, tweezers, solder pot, hot air system, wrist straps, smoke absorbers, static eliminators, heating gun, pick-up tools, lead former, cutting tools, microscopes and magnifying lamps, solder balls, flux pen, desoldering braid or wick, Desoldering pump or spoon, overcoat pen, used material etc.
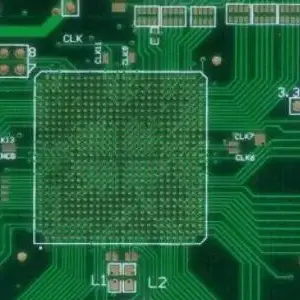
BGA Soldering: Another form of electronic component are BGA or Ball Grid Array. They are special components and need special soldering. They do not have any leads, rather they use solder balls under the component. Because the solder balls have to be placed under the component and soldered, the soldering of BGA becomes a very difficult task. BGA soldering need BGA soldering and rework systems and solder balls.
What Are the Steps to PCB Soldering?
1. Prepare Your Iron
Before you can use an iron to solder, you’ll want to complete a process known tinning. This process is all about coating the tip of the iron in solder to aid in the heat transfer process.
Begin this process by warming up the iron thoroughly and letting it rest until it reaches its full heat. Once it has completely heated, coat the tip thoroughly with solder, making sure to cover the entire tip. You’ll need to use plenty of solder to do so, and some of this will likely drip. Be prepared for this.
Once you’re certain the entire tip is coated, wipe it off with a wet sponge to get rid of any excess flux residue. Do this right away, or else the flux may have time to solidify on the tip and become difficult to remove later.
2. Prepare Your Surface
The key to a good soldering job is to start with a clean surface. To ensure your PCB board is clean and ready for soldering, use an industrial cleaning pad to wipe the surface clear of any dust and debris. You may also use an acetone cleaner to give it an additional wipe down. Finally, you might try giving it a few blasts of compressed air, as these will remove any small particles stuck in the board.
3. Place the Components
Unless you’re working with an exceptionally simple circuit board, you’ll likely only be soldering one or two components at once, as opposed to doing the entire board in one session. We recommend starting with the smaller pieces and working up to the larger ones. This helps keep the board flat and balanced as the process begins, rather than weighing it down on one side with a single heavy piece.
Begin by selecting a few small components and placing them where they belong on the board. Bend the leads as you find you need to and insert the component into the holes where they belong. If you’re having trouble getting the piece to stay still once you aren’t holding it in place, try bending the leads so that they rest at a 45-degree angle along the bottom of the board.
4. Apply Some Heat
Add a very small amount of solder to the tip of the iron. This isn’t the solder that’s going to hold the components in place but is rather intended to conduct heat from the iron to the board.
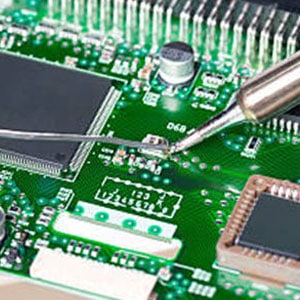
To properly heat the joint, hold the iron, so the tip touches both the board and the component lead. This positioning is critical since if the tip is in contact with only one of these pieces, the solder won’t stick. Once the tip is in position, the solder you applied earlier will make contact with both the lead and the board, heating them up and preparing them for the soldering. Hold the iron in position for a few moments before removing it.
It’s possible to overheat during this stage, which you’ll want to avoid. If you notice the area starting to bubble, remove the heat immediately. Wait for it to cool and then heat it again, more cautiously this time.
5. Add Solder to the Joint
Once you’ve heated the joint, you’re ready to solder. Begin by touching the tip of a strand of solder to the solder pad and lead. If you’ve heated this space correctly, the solder should flow freely and the flux should begin to liquefy and bubble. Keep adding solder around this joint until it’s entirely coated, forming a small mound. When you’ve reached this point, stop adding solder and remove your iron from the area, setting it aside.
As the joint cools, make sure it stays absolutely still. If you jostle it or allow it to move, the finish will look dull and grainy.
6. Finish Up
Once the joint has finished cooling, conduct a small inspection of it. If the solder joint looks good, move on to trimming the lead. You’ll do this by using side cutters to cut at the very top of the joint. From here, move on to the next component you want to solder in place. Once you’re finished with all your soldering for your current session, make sure to clean up any extra flux from the board, leaving you with a clean and finished product.
Final Words
I hope you found this Basic Soldering Guide useful. If you have any doubts or questions, feel free to ask below in the comment section. Here at Unitepcb, we’ve been providing quality service, distribution of unparalleled multilayer PCB products, and provide you with the training you need to succeed.

